Step 01
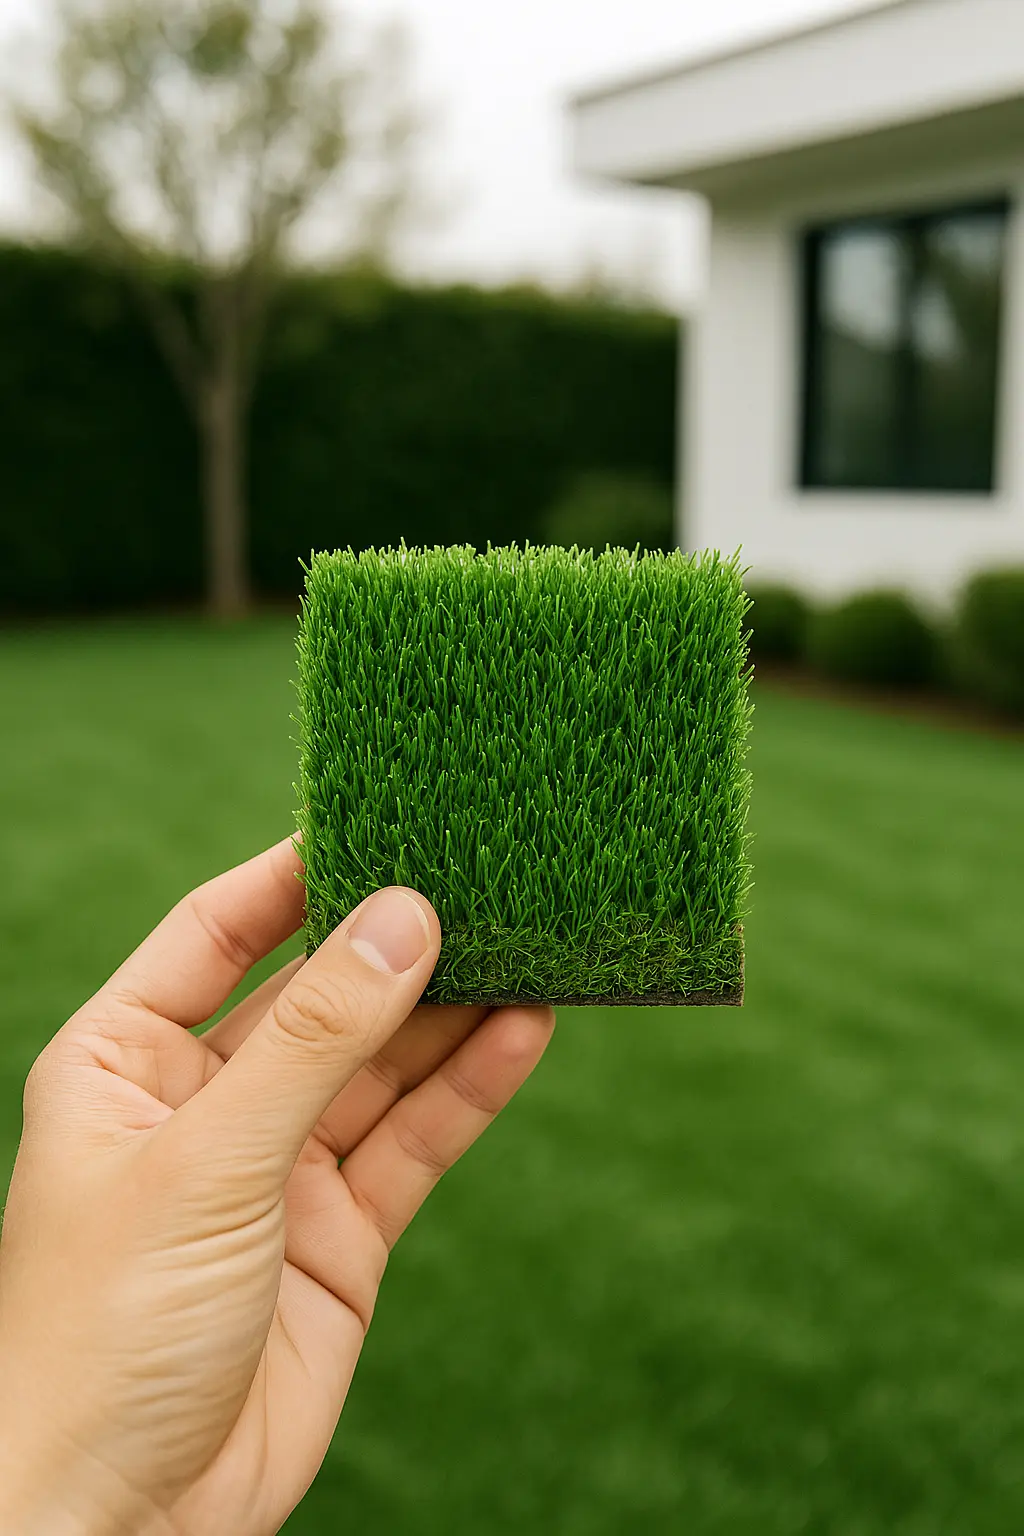
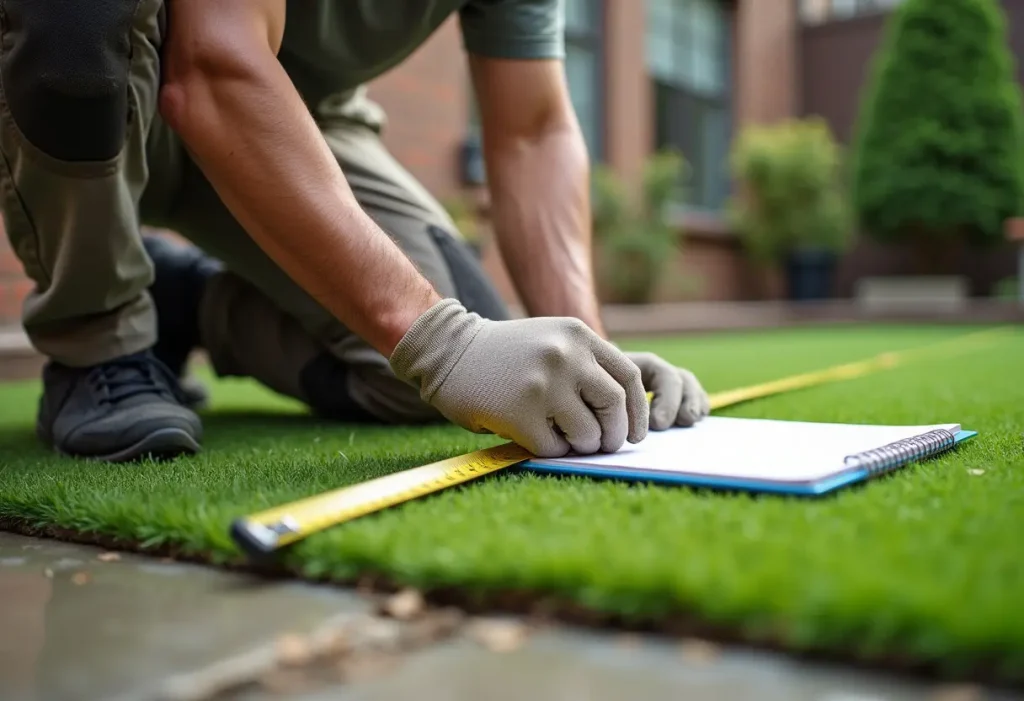
Measure and Calculate
Find the most economical way to lay your synthetic grass with minimal joins, ensuring the best visual aesthetics and reducing waste.
Step 02
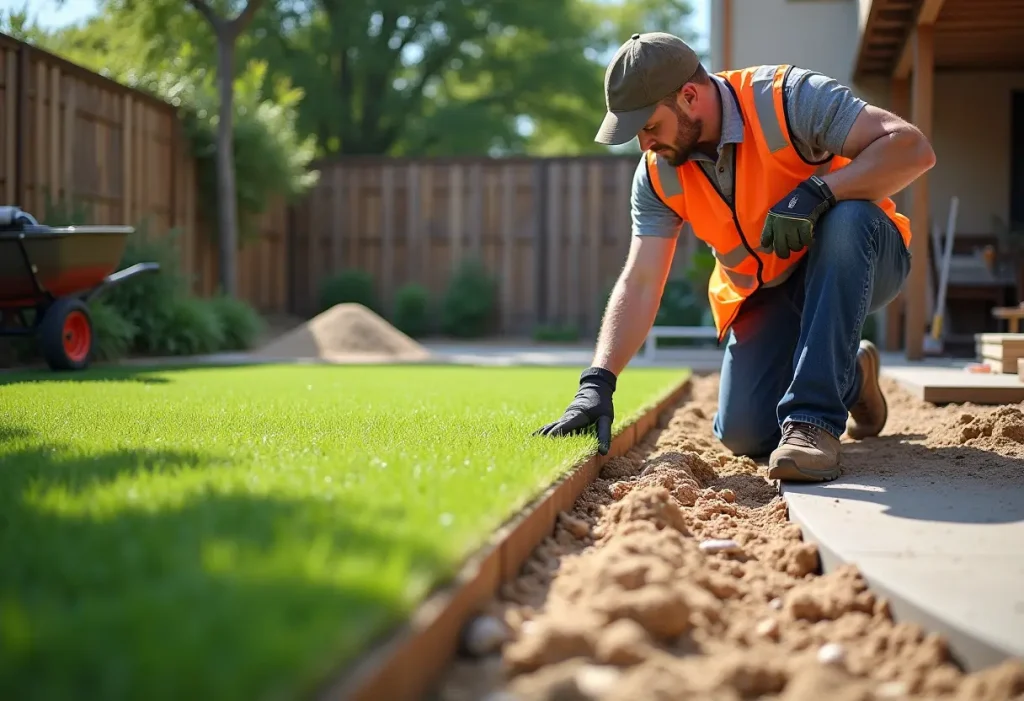
Check Access & Prepare the Site
Ensure there is sufficient access for removing the existing base and bringing in new materials. Set up any necessary ramps and protective coverings to prevent damage.
Step 03
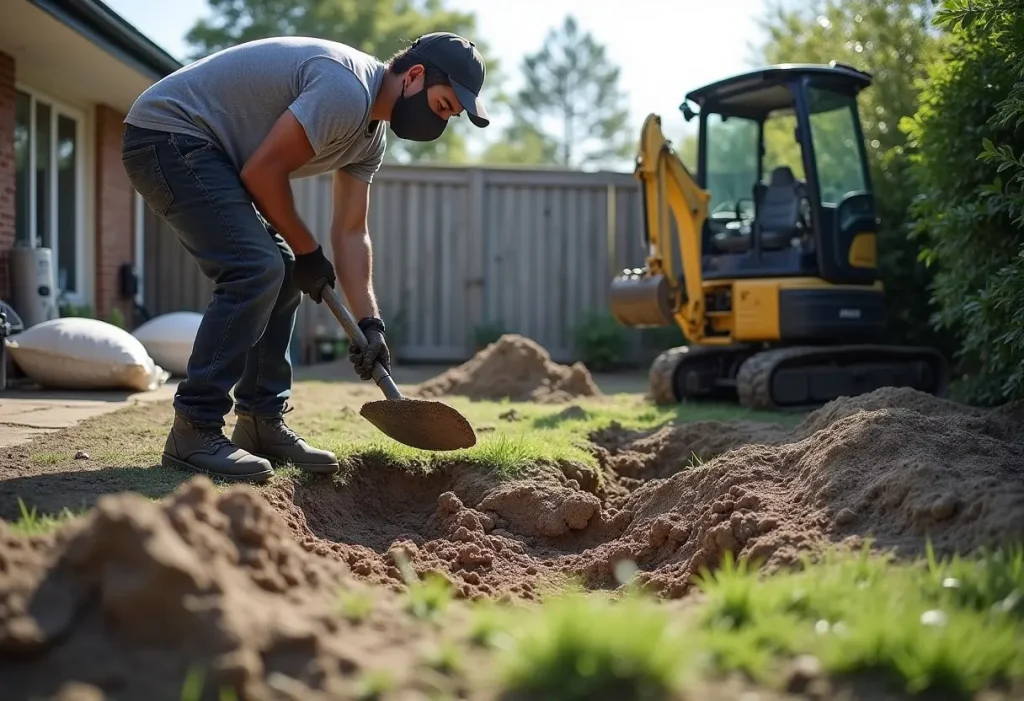
Base Preparation
Remove 50 to 100mm of the existing soil, depending on roots and soil conditions, to prepare for the new base material. Crusher dust is recommended for a stable foundation.
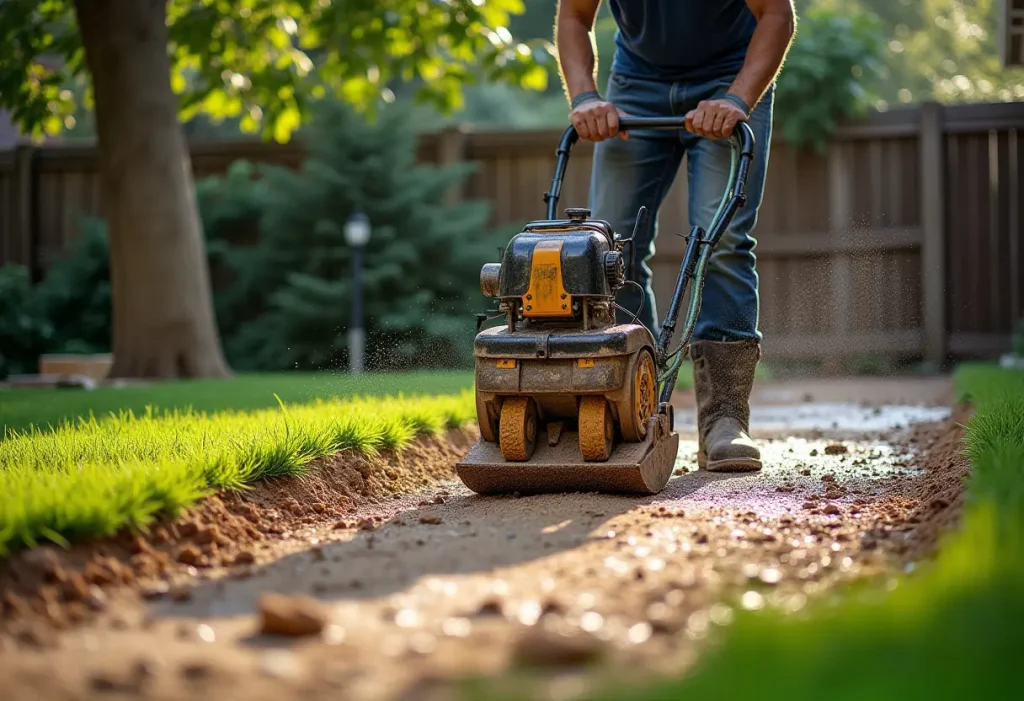
Step 04
Spread and Compact the Base
Spread the new base material evenly across the area, ensuring proper drainage and maintaining the desired shape. Keep an eye on the levels along the edges to prevent trip hazards.
Wet and compact the base using a plate compactor, repeating as necessary to achieve a firm and even surface.
Step 05
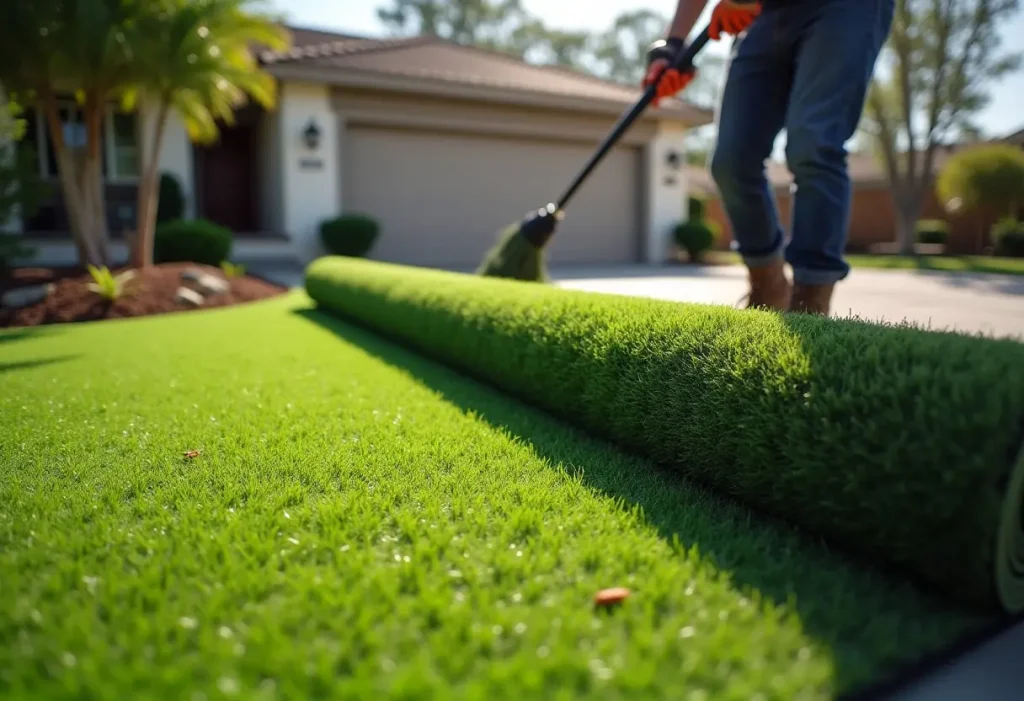
Stand Up the Grass
Synthetic grass arrives tightly rolled. Allow it to sit in the sun to relax, or use a power broom to lift the fibers for a lush, natural appearance.
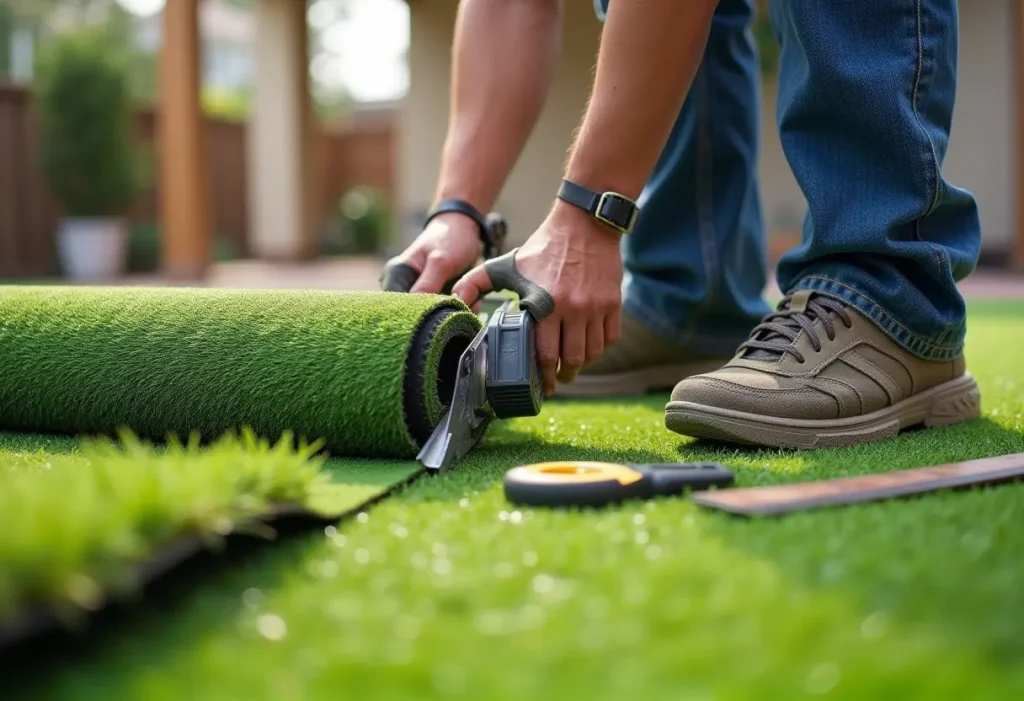
Step 06
Grass Roll-Out
Roll out the pre-cut grass sections or full rolls as needed. Ensure the pile direction is consistent across the area.
Float the grass into position, trim where necessary, and leave some excess for final cut-ins.
Step 07
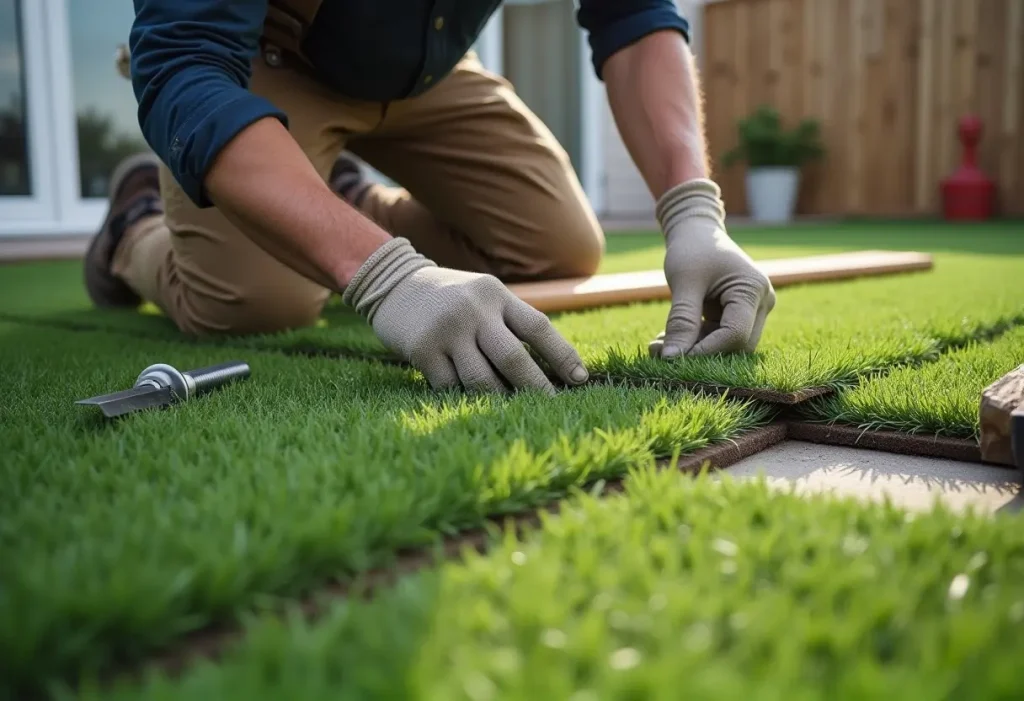
Joining
Prepare the joins by leaving a stitch-width gap between rolls for a seamless finish.
Peel back the edges, lay joining tape in the middle, and spread adhesive evenly using a notched trowel.
Slowly fold both sides down simultaneously, then use a seam roller to secure the bond and blend the fibers.
Step 08
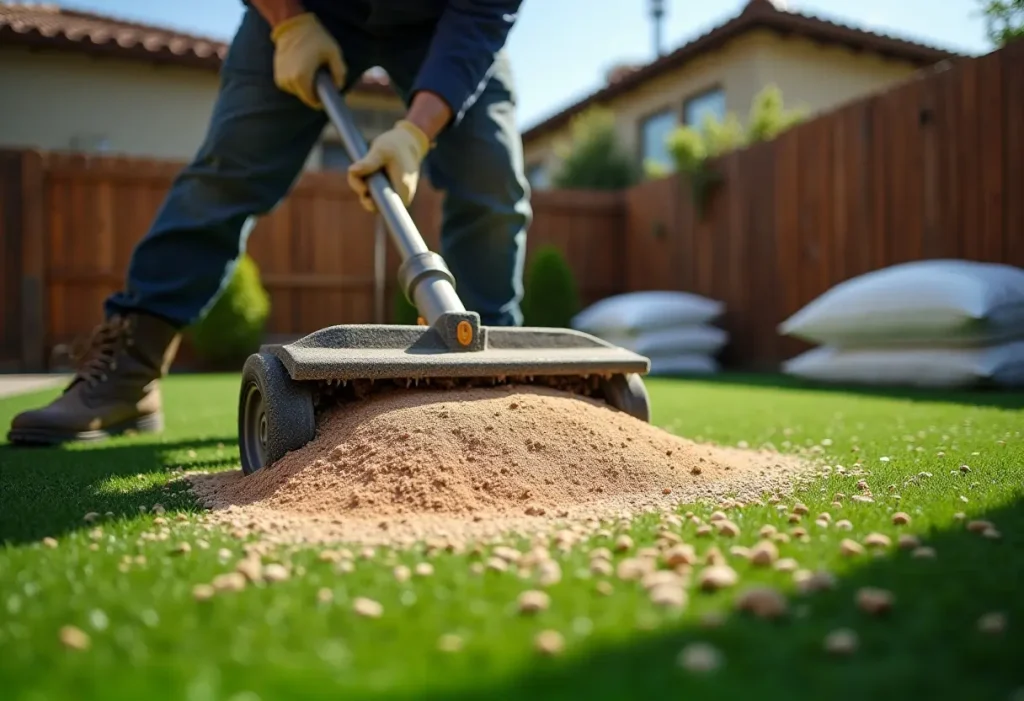
Sand Infill
Spread sand evenly using a sand spreader or by hand for the best distribution.
Brush the sand into the grass fibers using a power broom or a standard broom, ensuring even coverage.
Avoid adding sand too close to the edges at this stage to allow for final cut-ins.
Step 09
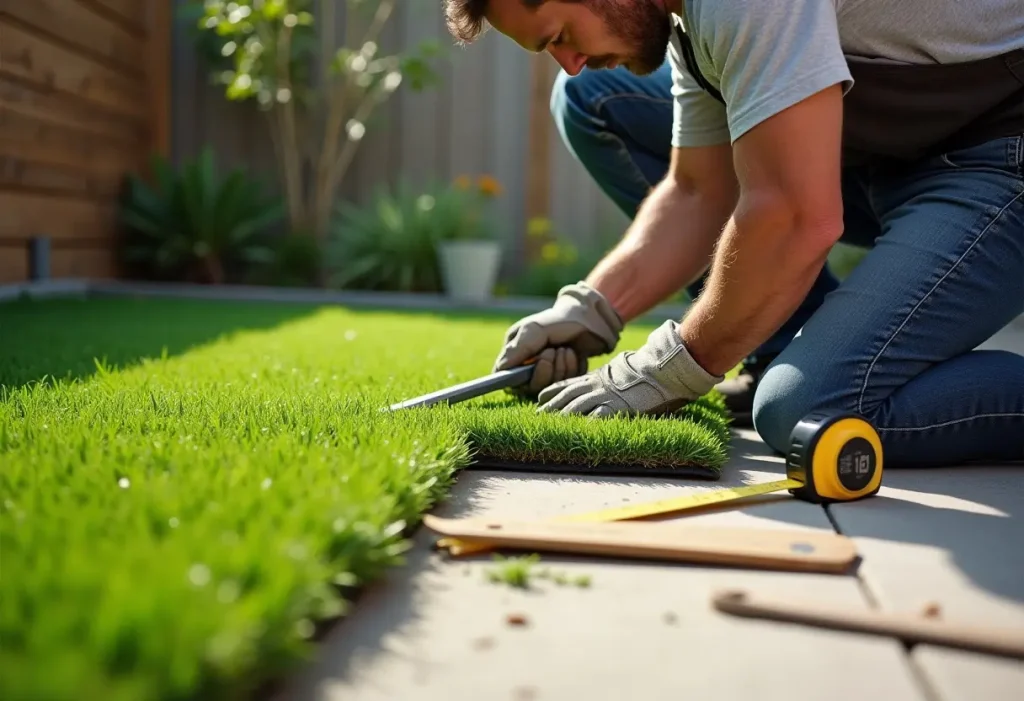
Cut-In
Carefully trim the edges from the back of the grass, keeping the cut as close to the finishing surfaces as possible.
For sections that need to be folded and tucked, leave just enough material for a seamless fit.
Step 10
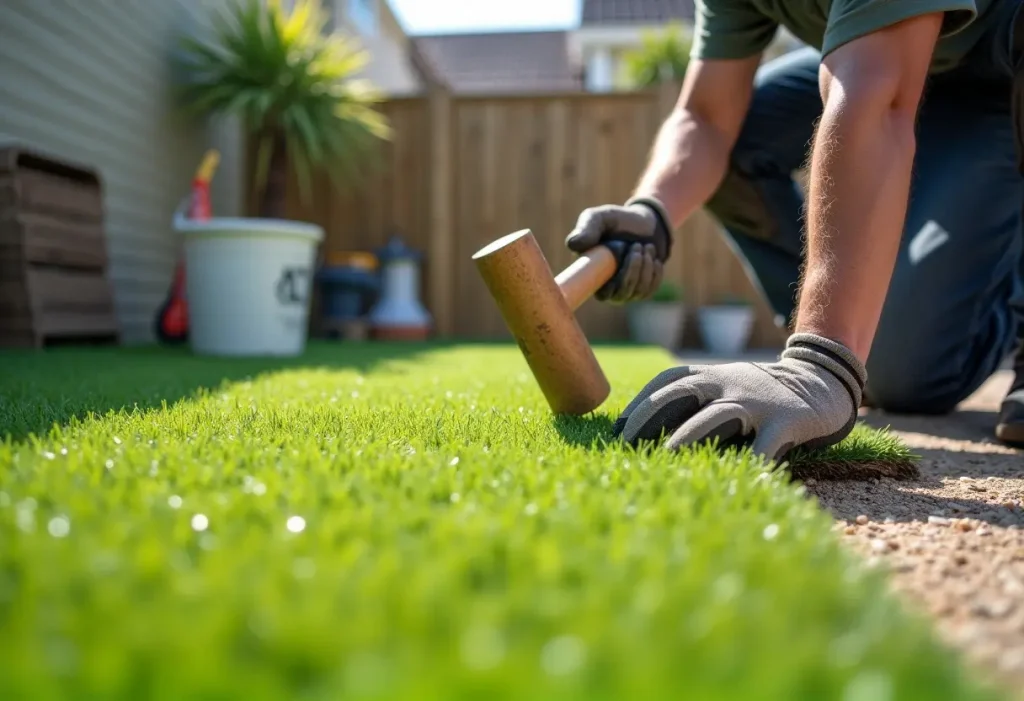
Pinning and Securing
Peel back the fibers and pin the grass down between the ribs every 200-400mm to secure it firmly.
Once completed, brush sand towards the edges for a finished look.
Step 11
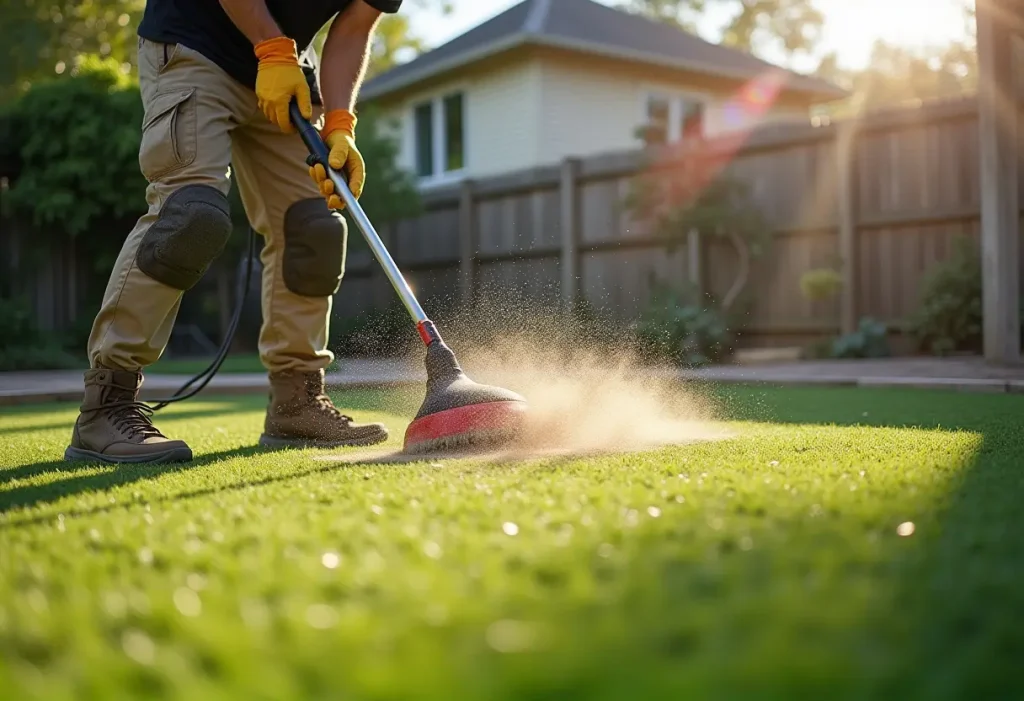
Grooming
Rerform a final power broom or manual broom grooming to even out any high spots in the sand.
A light blower can help remove excess sand, and foot traffic over time will naturally settle the surface.
Step 12
Clean Up and Check
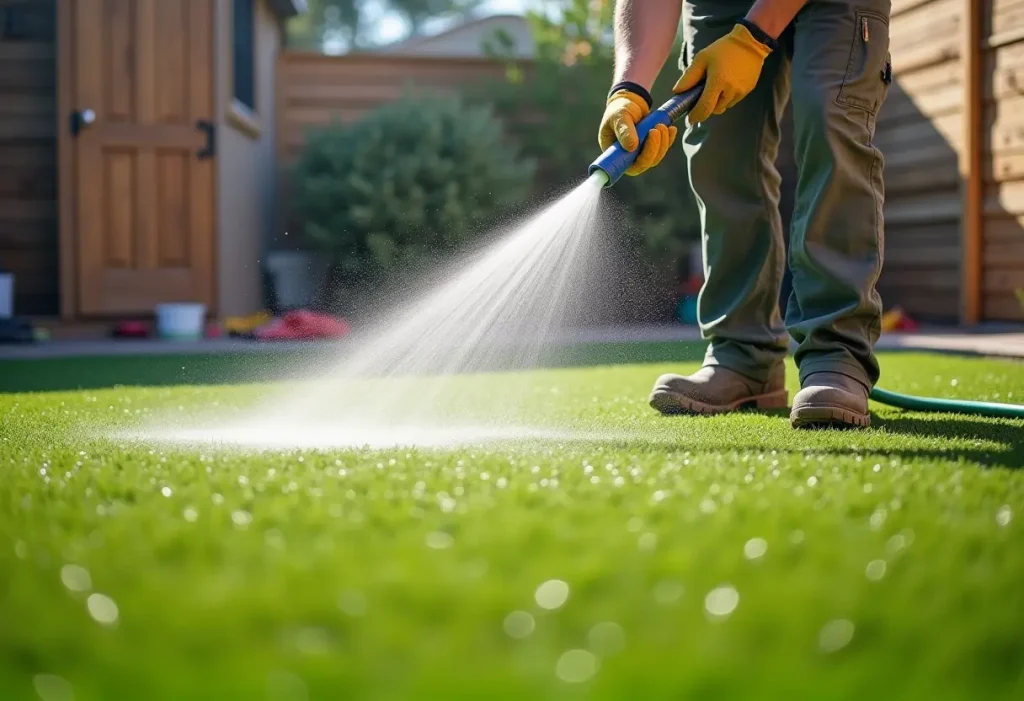
Give the area a light hose down to settle any dust and enhance the natural colors of the grass.
Check all seams, edges, and pinned areas to ensure everything is secure. Now, your lawn is ready to enjoy!